Things I learned when making arches
|
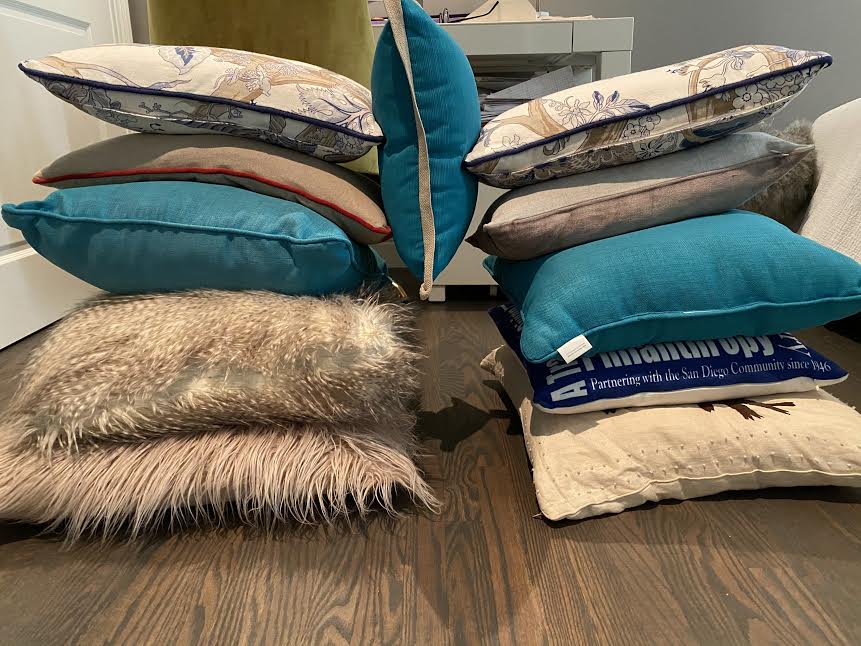
Arch 1
- Since I had no pillows the same sized it was rather difficult to create an arch. This one has more of a square shaped as opposed to the regular u shape. Again this one was challenging because the pillows were different sizes and some were thicker than others. - The pillow in the middle acts as the keystone, the keystone pushes its weight down on the other pillows to ensure the structure stays secure and firm. However my keystone pillow kept falling, and the arch would collapse on itself. So it took me a bit to place the pillow in the perfect position to make the arch balanced. |
|
|
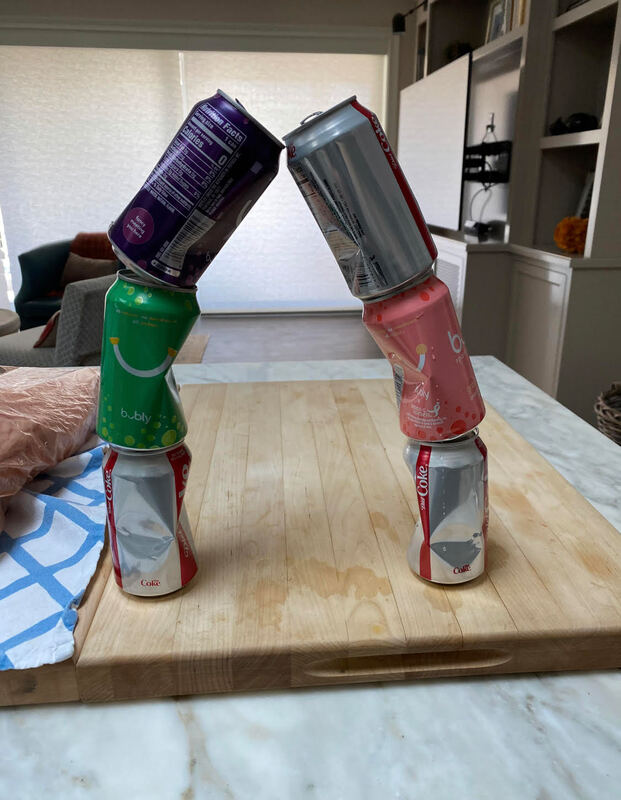
Arch 2
- For my second arch I decided that I needed to use objects of the same size in order to make a more balanced and secure arch. This one was much easier to make than the previous arch. It collapsed a couple of times, but it was pretty fun to make. - However unlike the previous arch this one doesn't have a keystone. I simply leaned the cans towards one another and the arch remained balanced. The center of gravity would be the two cans connecting at the very top, this is the position of an object's weight distribution. |
|
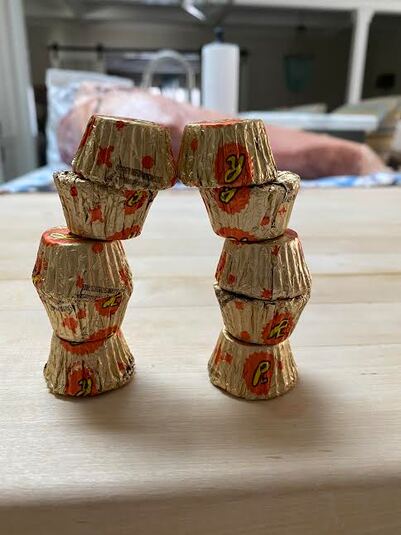
Arch 3
- From what I learned from the first two arches I knew that using objects with the same shape and size is the right way to go. I noticed I had some Reese's left over, and I decided to make an arch out of them. This one was definitely my favorite arch to make. - Again this particular arch doesn't have a keystone but it does make a curved shaped similar to an upside down u. The reason why this arch is balanced is because it's center of gravity is above its base of support. The higher the structure and the higher the center of gravity its more likely the arch will fall over. However arches can be a large structure because the weight is distributed evenly throughout. |
|
Things I learned when Making MY HISTORICAL MOMENT


|
|
Things I learned when Making a Balancing Sculpture
|
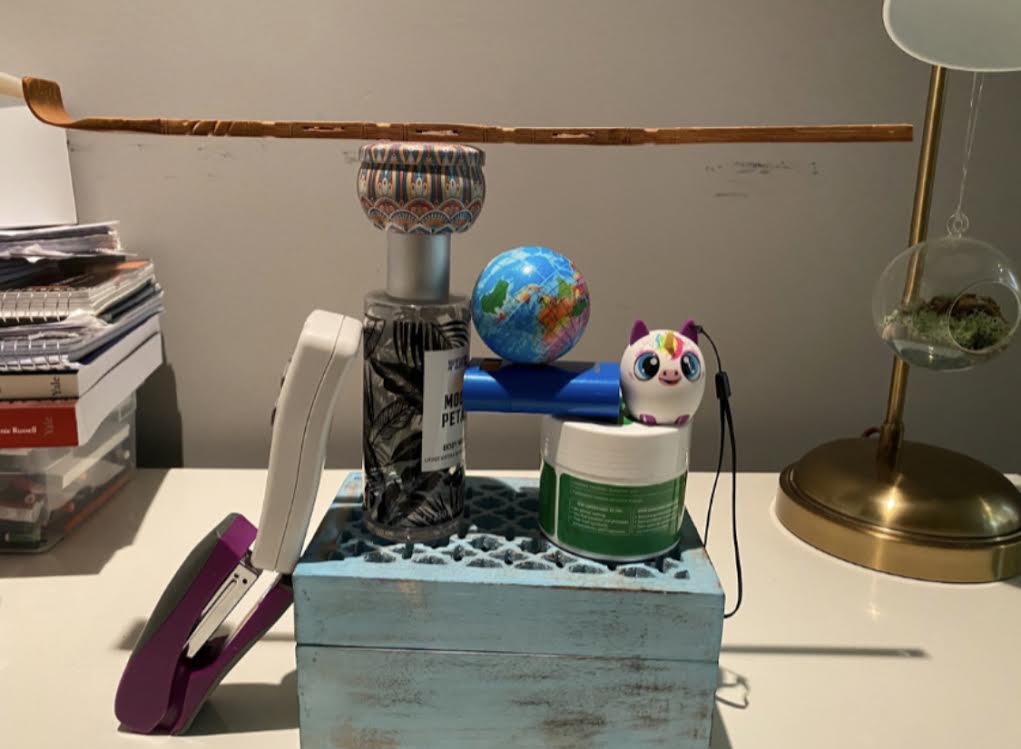
Sculpture 1
- the first sculpture is pretty monotone I wanted to start off a bit easier
- i was able to have all of my objects balanced (or in a state of equilibrium) meaning the object does not move - I had to make sure that the candle was placed directly under the back scratchers centre of gravity, in order to make balanced |
|
|
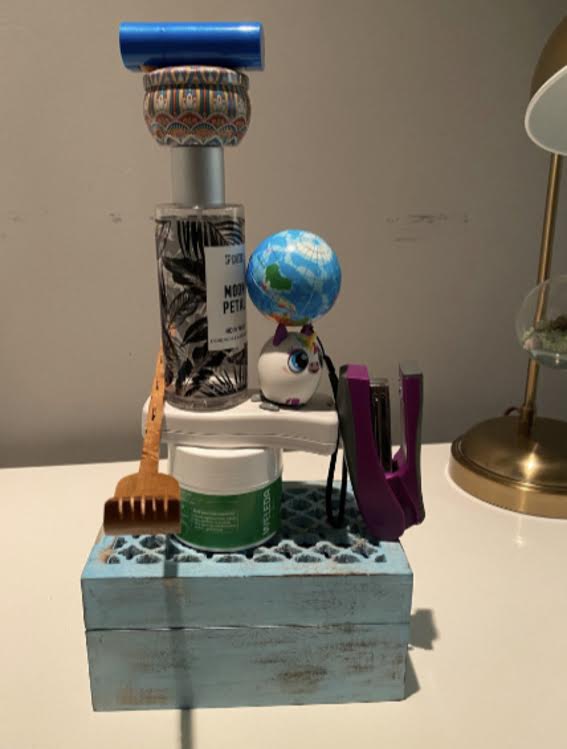
Sculpture 2
- I wanted all of my objects to be on top of the light blue box, it proved a bit challenging
- I really had to sit back and figure out how to position each object, so the weight was distributed equally and none of the objects were off balanced - when you have a bigger base, the more likely your objects will be balanced |
|
|
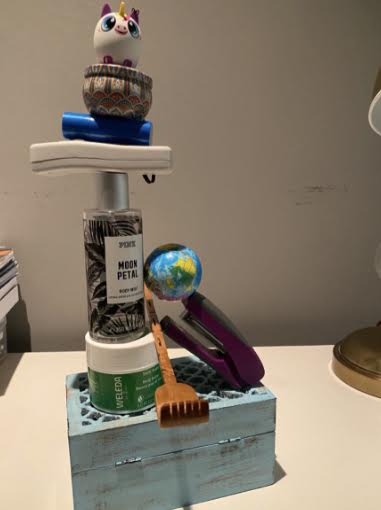
Sculpture 3
- for my final sculpture I wanted to make it as high as I could, this one was definitely the hardest to make
- the taller an object is (and the centre of gravity), the more likely it is for the object to topple over which happened many times - sometimes I had the sculpture perfectly balanced, then it would collapse two seconds after but I eventually constructed a balanced sculpture |
|
Tips for making a balanced sculpture:
- gather objects that are round, flat, big, small, long, wide, have a variety of objects
- while you want different types of objects, it's good to have some objects be a similar size to another one
- figure out what your base will be, it's better to have something large like a box, book, something that has a flat surface where you can begin to build your sculpture
- try to look at your object from different perspectives, angles, try and think outside of the box and don't hesitate to try new things
